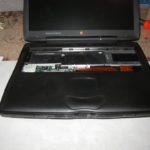
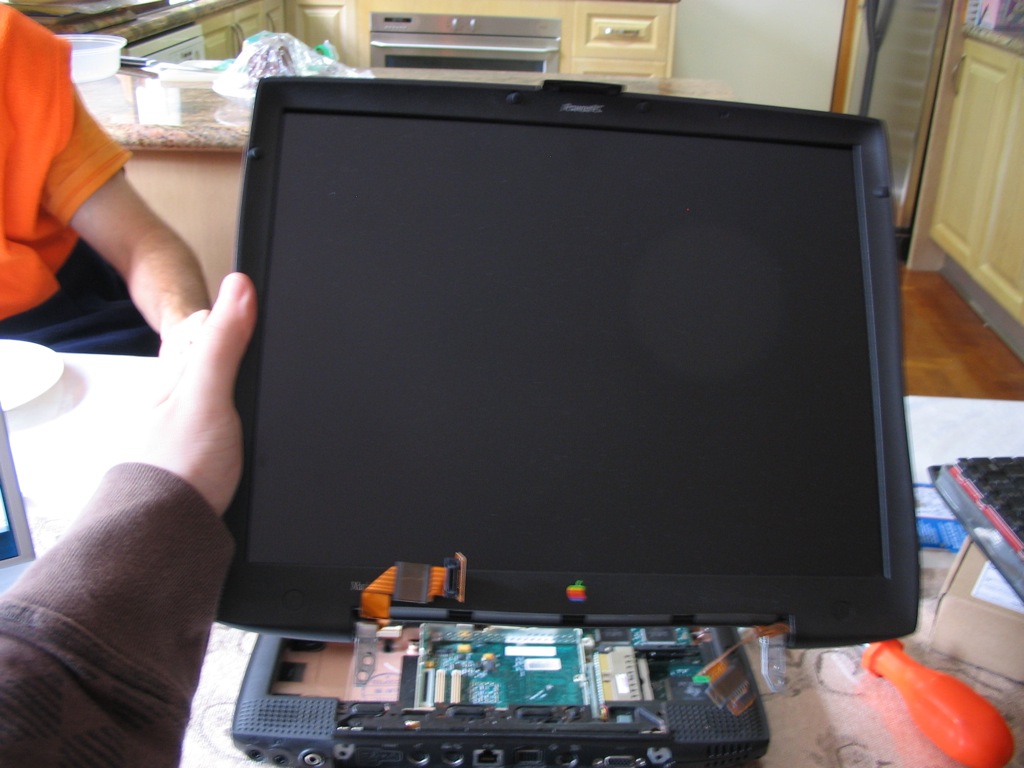
I had received an Apple PowerBook Wallstreet G3 some time ago that was looking a little sad. It had been an education machine, so it has had a bit of a rough life. Its external case has many scuffs and scratches, with some worn bits on the bottom where you can see the underlying metal, the PRAM battery was shot and the trackpad had been attacked with what I gathered was a sharp instrument of some sort, perhaps a drawing compass. Naturally, the laptop battery was dead and could only hold a couple of minutes’ charge.
Over the following months, I had slowly collected the bits and pieces I needed to repair or replace the broken items and try to get the poor old Wallstreet as close as I can back to its original condition. I gave up looking for a great condition external case, as most if not all replaceable parts would be “reconditioned” or pulled from other second-hand laptops, which wouldn’t be in much better condition. I had however found another laptop battery (sold cheap – previous owner wasn’t sure of its condition, but it can hold at least 2 hours charge!), a replacement PRAM battery, replacement trackpad (both new), 256MB RAM (originally had only 32MB) and a CD-ROM drive that can be swapped out with the included floppy drive.
RAM is a cinch to upgrade – basically remove the keyboard and heat shields, and the RAM can be clicked into place without having to remove the CPU card at all. The PRAM battery needs access to the underside of the top cover / wrist rest, and since the trackpad which is also located here needed replacing, this worked out well as I could knock two birds with one stone.
I followed the disassembly steps from iFixit’s PowerBook G3 Wallstreet guide, which had told me while I was researching that I would need to remove the display to get further into the machine and replace the PRAM and trackpad. I found this daunting when reading about it at first, but when I got around to actually doing the transplants it was really easy. iFixit says that the difficulty level is “Difficult” but as long as you know what you’re doing and have some experience with computer disassembly and reassembly and know the basics about electronics and static electricity, it’s not very difficult at all. Reassembly / installation was, as they say in the Bentley Car Repair manuals, is the reverse of removal!
This was the first serious repair of a computer where I extensively used Blutack for the saving of screws and such. Can I say that this is an excellent idea (not wanting to gloat, but I did think of it myself – I’m sure I’m not the first to though), and with the different sized screws used in the Wallstreet, it was very handy as I didn’t need to write anything down or remember anything.
After the transplants, I put everything together but realised as I was installing back the keyboard that the CD cover / flap on the right side of the machine wasn’t aligned correctly – it had popped out between the upper and lower case. So I had to disassemble EVERYTHING again, pop it back in, and then reassemble everything again! Not to worry, it’s good to practice these things!
Anyway, here are the happy snaps I took. Once everything was put together, I pushed the power button and everything turned on and worked, flawlessly.
-
- Keyboard removed
-
- Used Blutack here to save the screws
-
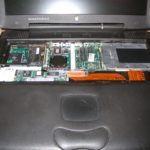
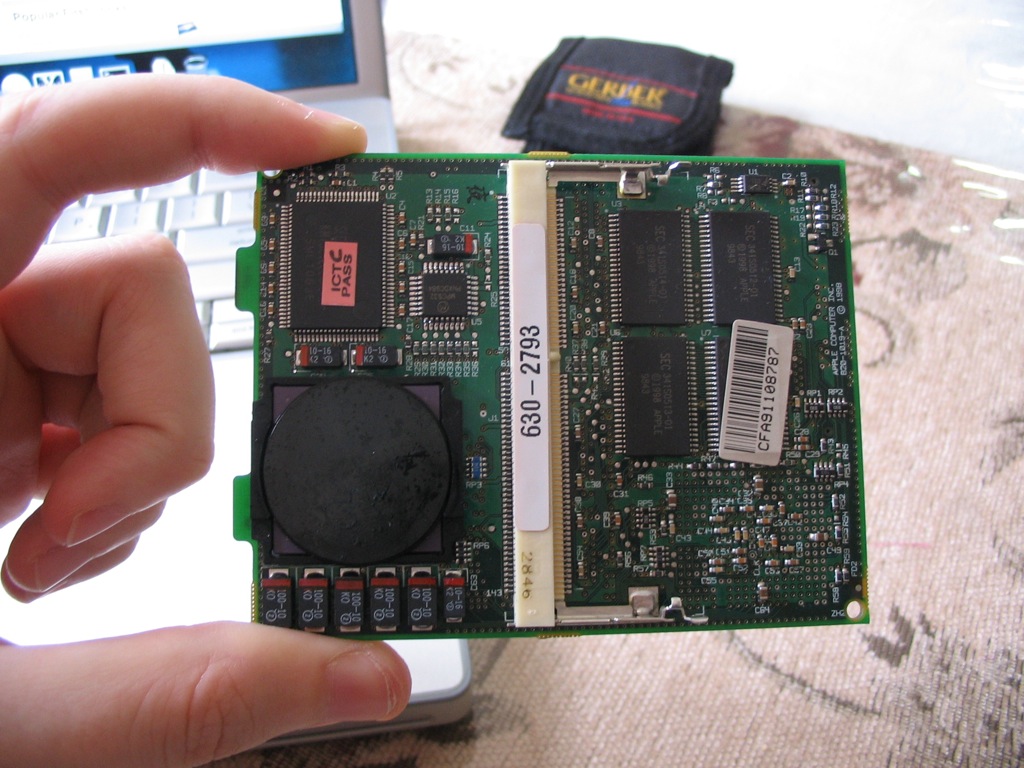
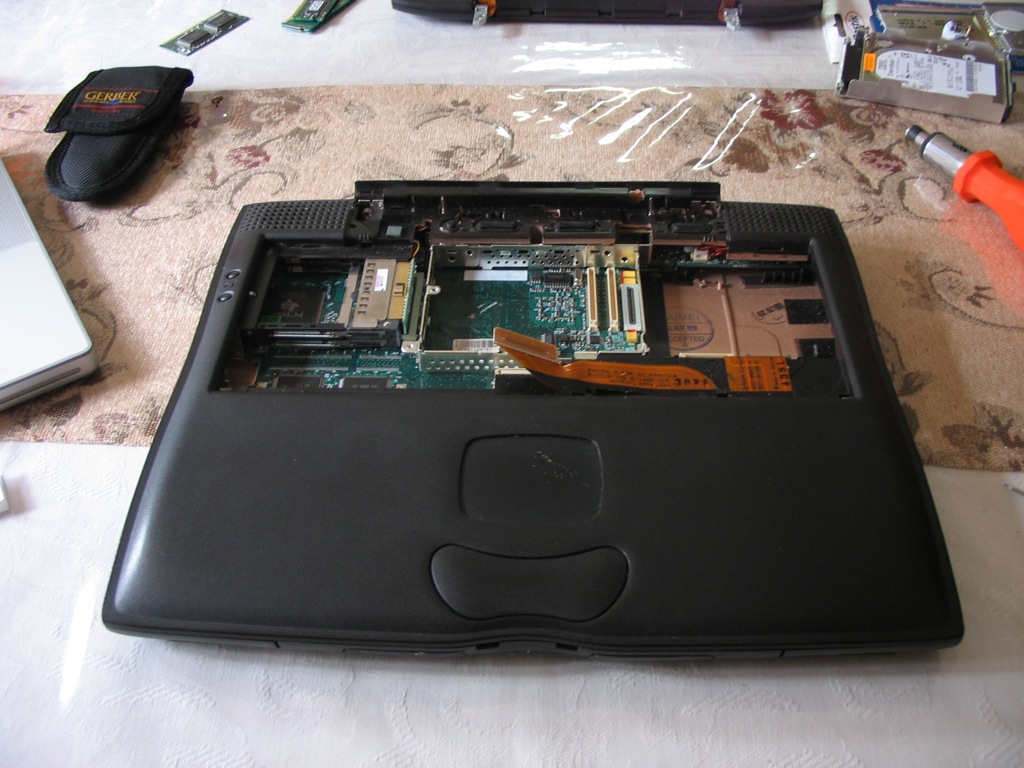
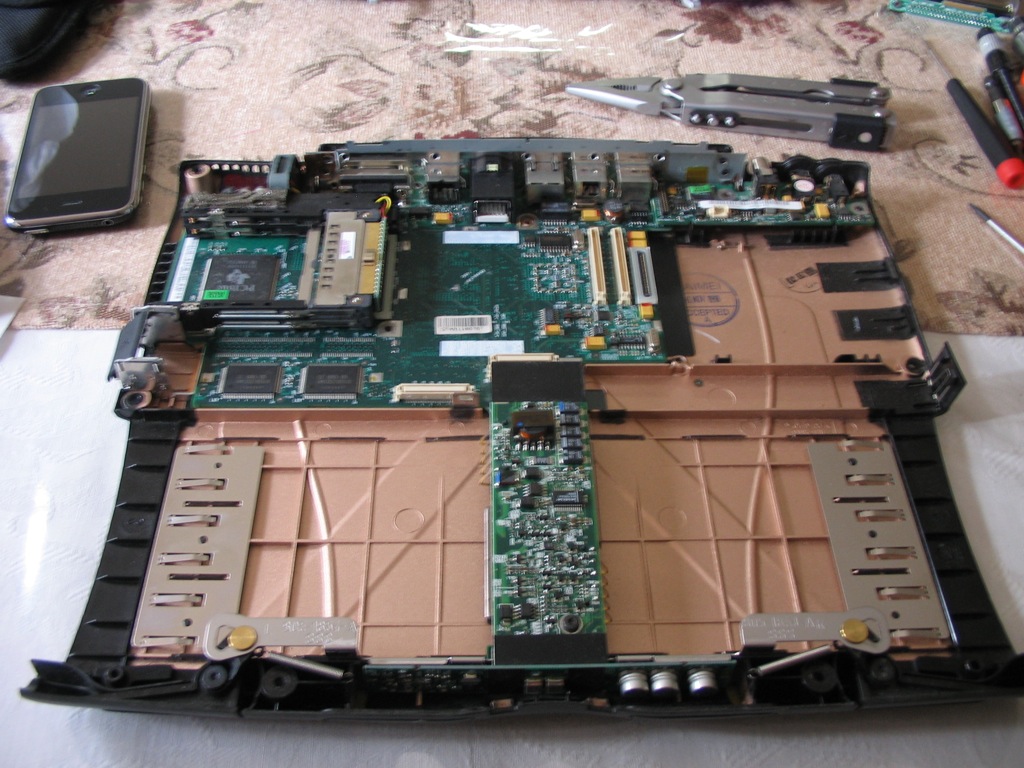
- At the back – PCMCIA slots, CPU card, hard drive. Nearer the front – Modem card, system ribbon cables

-
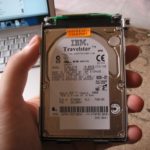
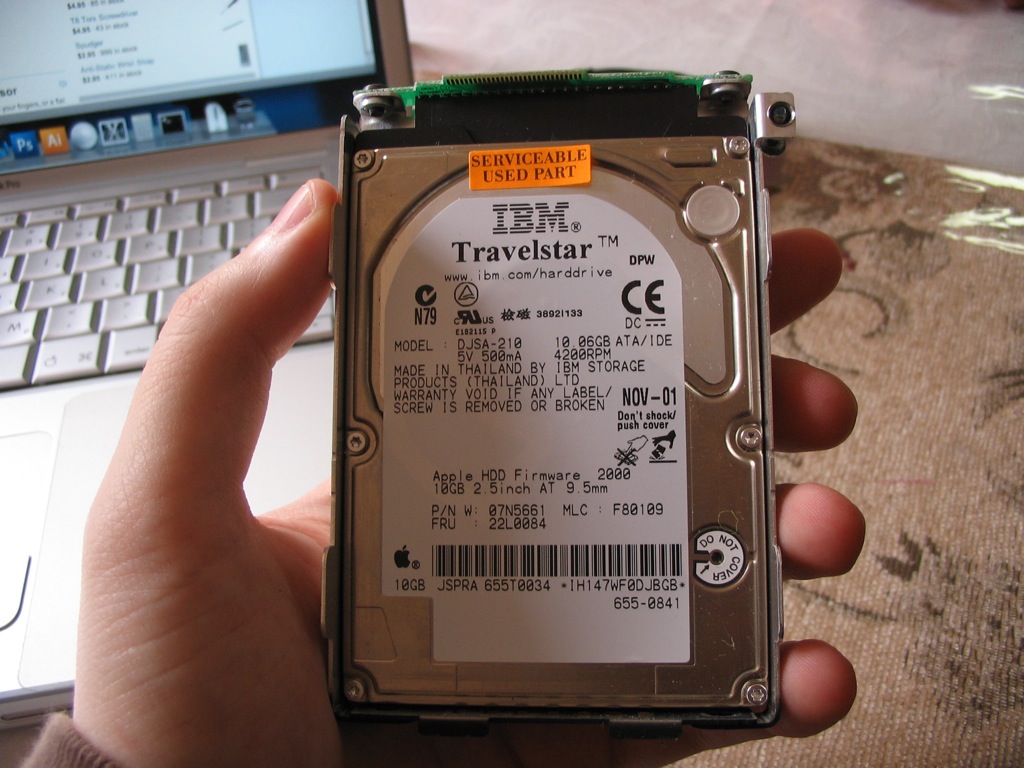
- IBM 10GB IDE drive.
-
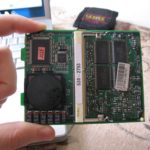
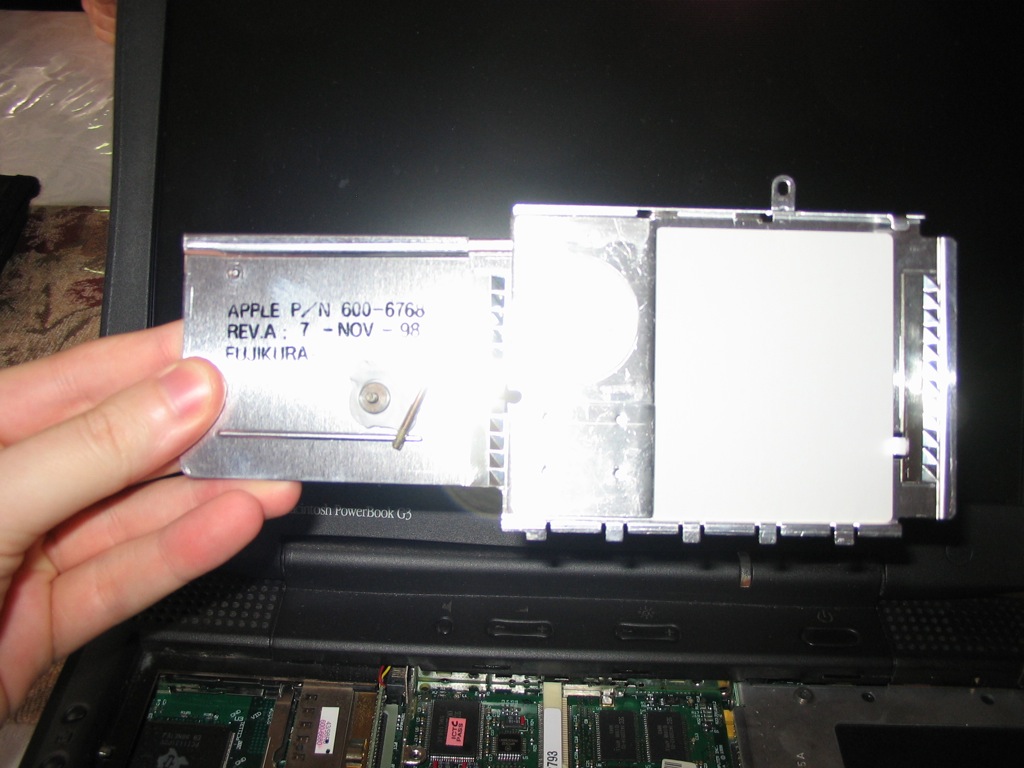
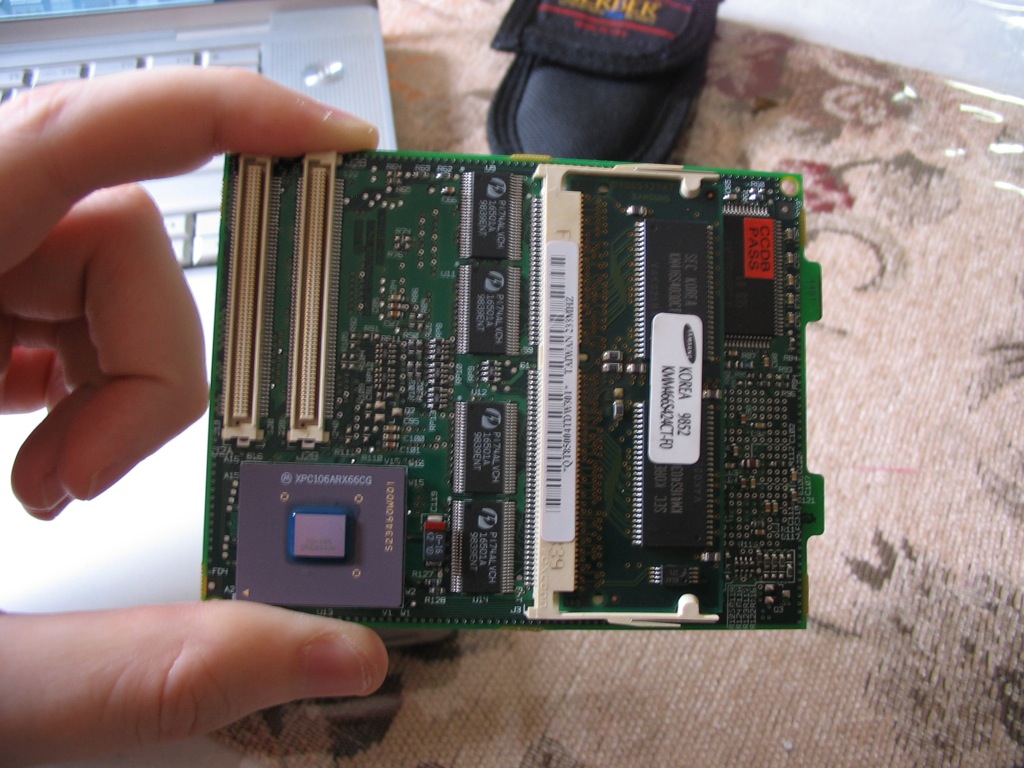
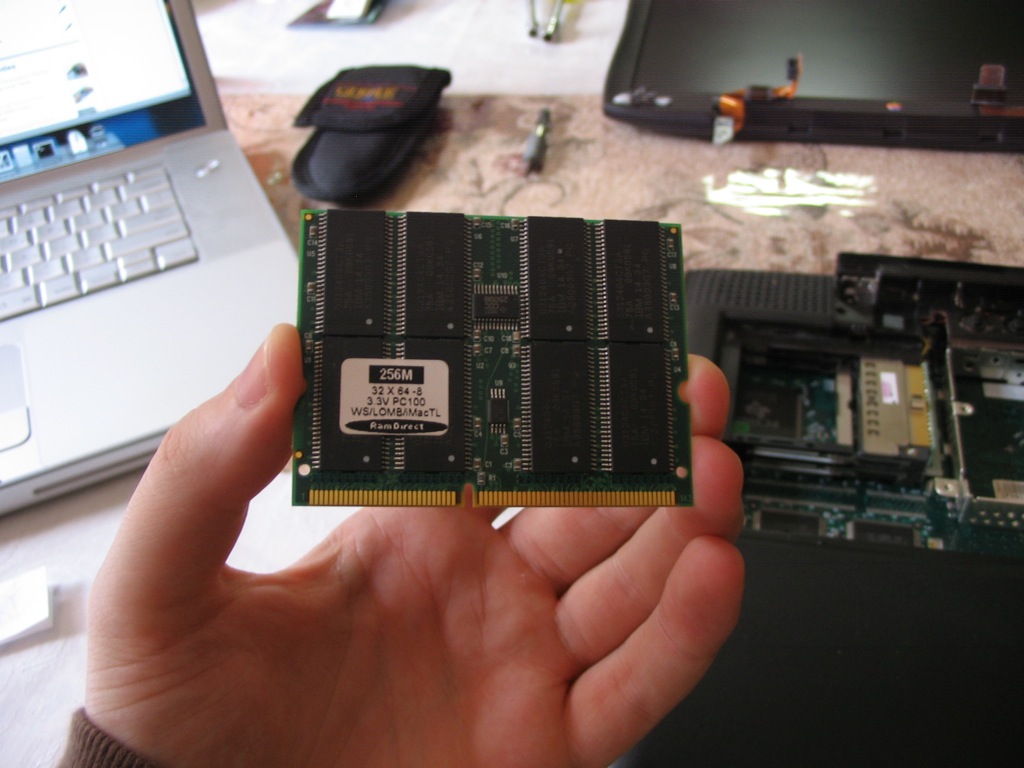
- 233 MHz, spare Upper RAM slot (current system RAM on underside, next pic)
-
- Populated with the stock 32MB RAM.
-
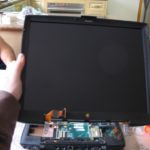
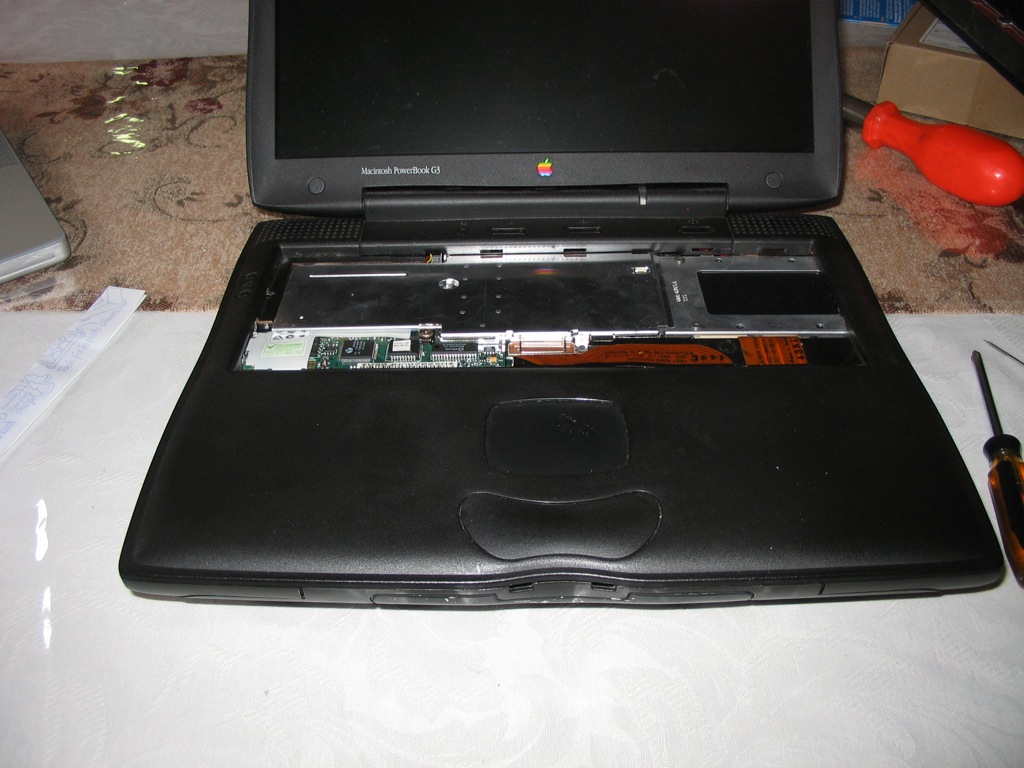
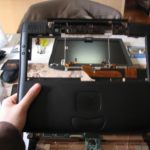
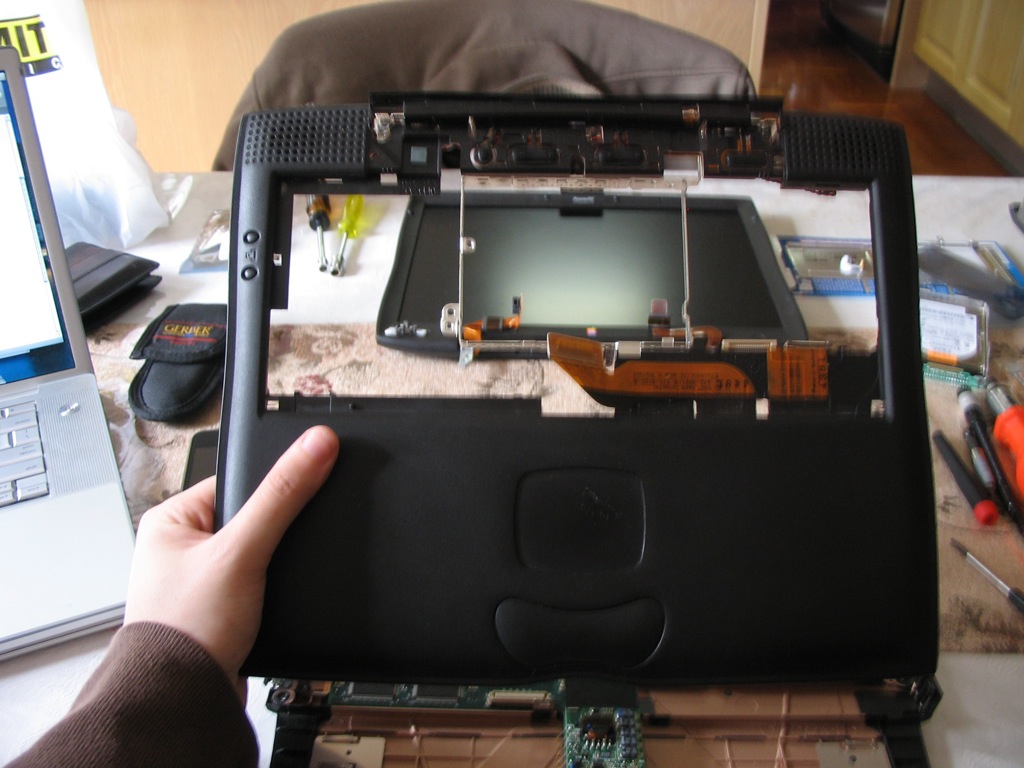
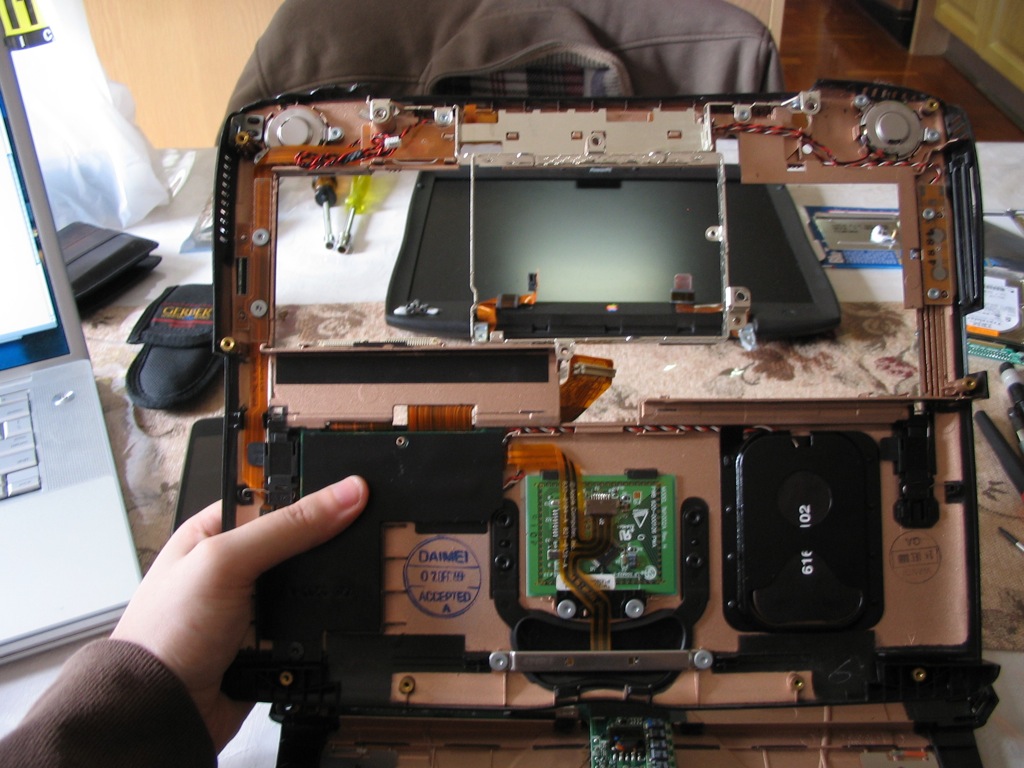
- After disconnecting a few ribbon cables and removing a couple of screws, the display came off effortlessly.
-
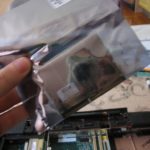
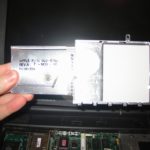
- For the upper RAM slot.


-
- You can see all the scuffs and scratches. Worn patch around the latch area.
-
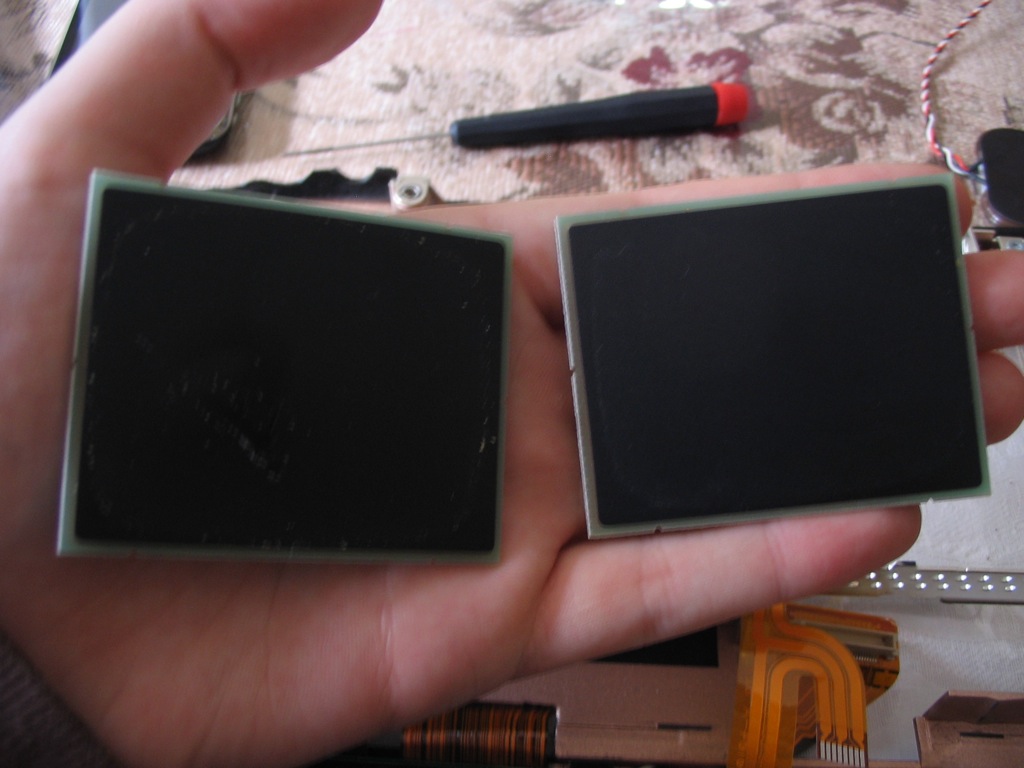
- You can see the damage of the trackpad here.
-
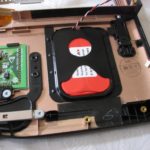
- Trackpad in the middle, PRAM battery in its holder.
-
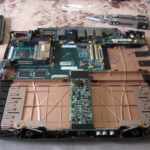
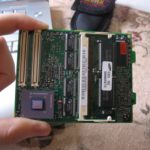
- Wallstreet motherboards aren’t that big.
-
- This was the fiddliest part of the whole process.
-
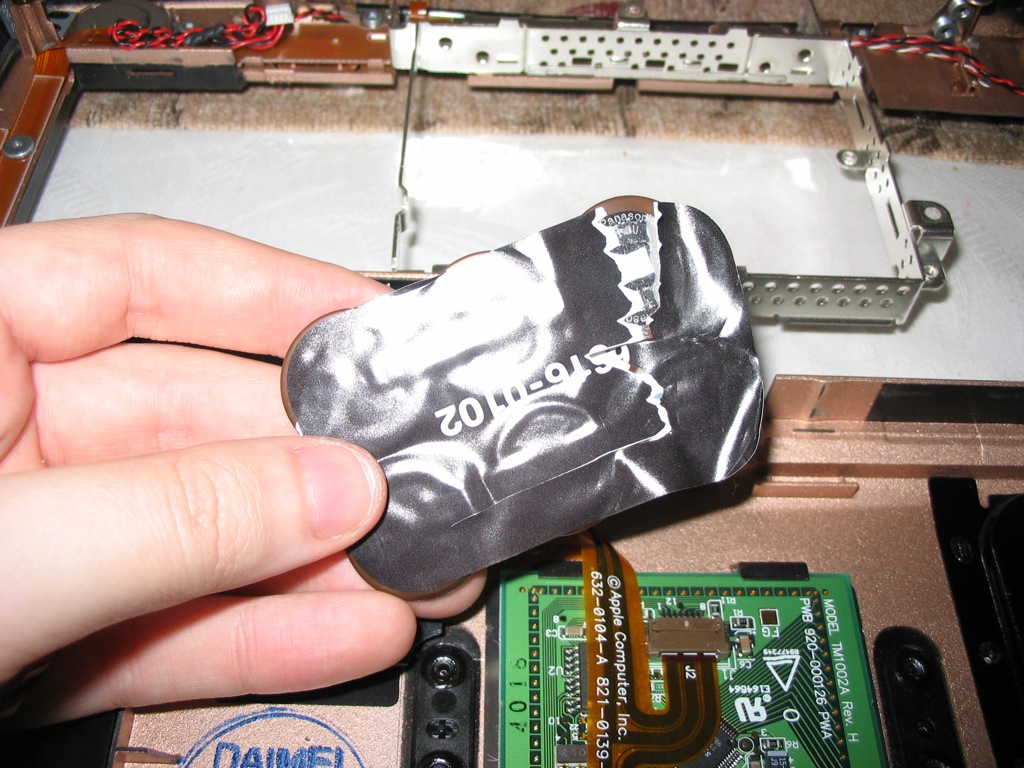
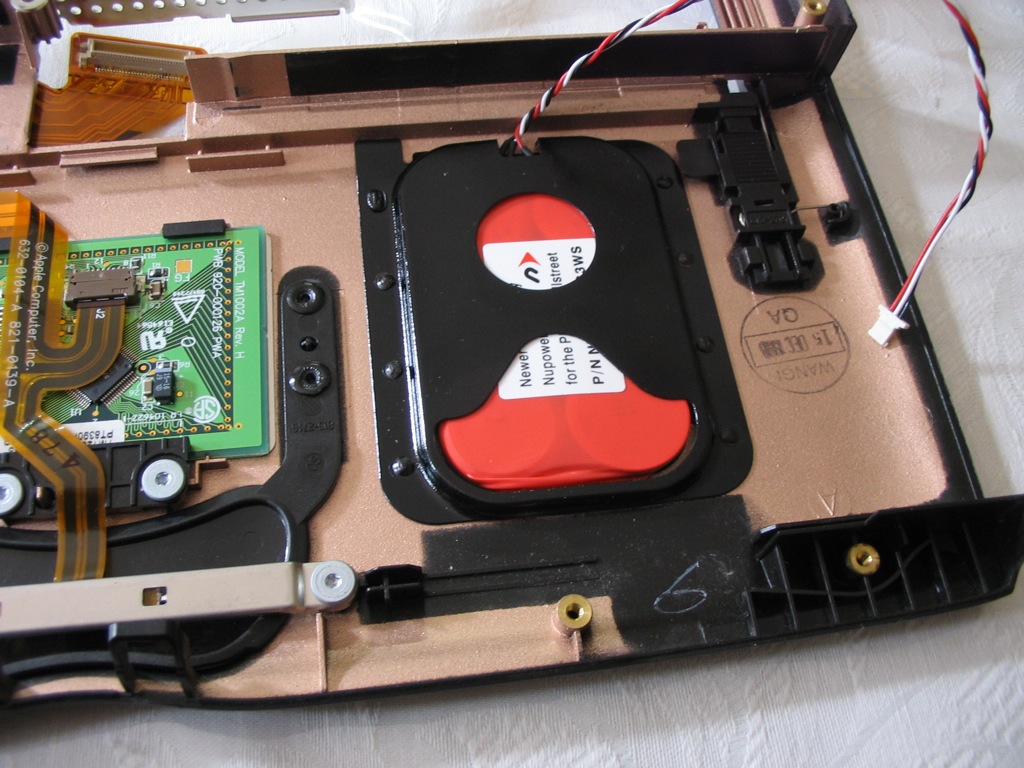
- NewerTech battery installed. Make sure you thread the PRAM connection wire through the bracket first before slotting in the battery.
-
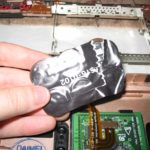
- It’s really just 6 tabbed cells, soldered together and wrapped in thin sticky paper.