Ever wanted to connect your computer to another computer over RS232 serial? You do? And you want to do it reliably, without a mess of cables – that admittedly, are not made in the same high level of quality of yesteryear? The WIFI232 from Paul Rickards might be what you need.
What’s this for?
Back in the day, before the world wide web was truly world wide, people used their modems to connect their computer to another computer over their phone line. People did this because they didn’t want to make the effort to be social and actually talk to people face to face outside of their bedrooms, you know, like normal people. So usually in the late of night, they would dial in their home computers to other people’s computers, and these computers ran software that transformed them into what’s called a Bulletin Board System (BBS for short). BBSes were small hubs that people could connect and write text messages to each other, swap files (often warez) and some had turn-based text games that you could play. If the BBS had multiple phone lines connected, you could have multiple people on at once, and they could interact with each other. Otherwise, it was first come first served, and connected users usually had a limited set of time that they could stay connected, before they were booted off to let someone else get on. Before the internet arrived in people’s homes, this was one of the very few ways introverts would want to communicate with the like of their ilk.
Although the internet basically steamrolled the entire BBS ecosystem in the early to mid nineties, BBSes still exist to this day – mainly for nostalgia reasons. Most are accessed through the internet itself, usually by Telnet, but there are still a few BBSes around that can still be dialled up over the phone line. The WIFI232 can help you connect your old timey home computer to BBSes – just plug it into your RS232-capable serial port, open up a comms terminal program, type in a few AT commands and be transported back to your mom’s basement in 1989. The wifi connection is quite handy as it allows you to tap into your wifi network that you are no doubt running in your household, and connecting to a BBS that has a telnet address is virtually seamless.
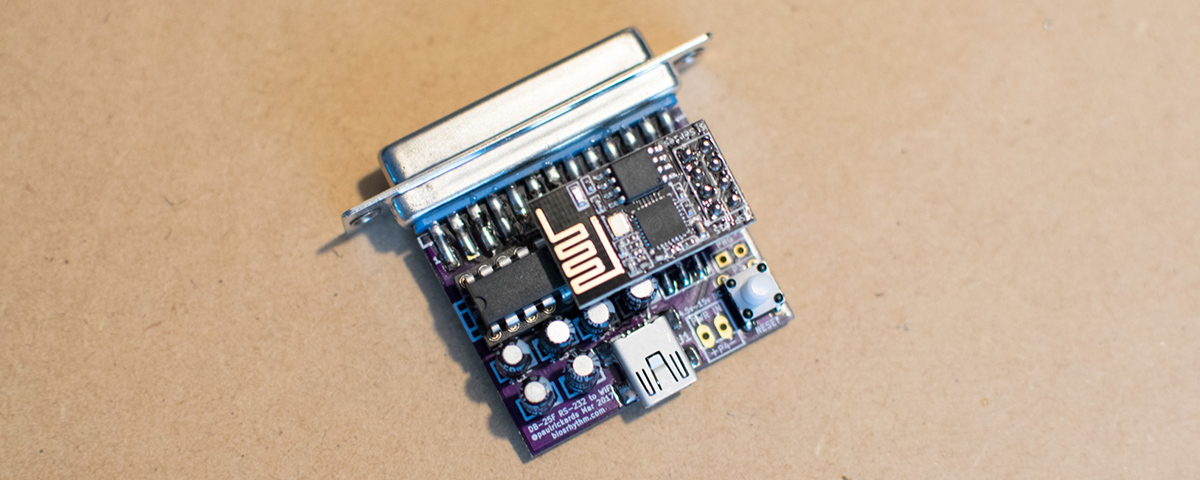
Paul Rickards has developed this board which utilises the handy ESP-01 wifi module, a popular board that has been integrated in things ranging from Arduino kits and projects, up to IoT devices. It’s coupled with a SP3232ECP DIP IC for that sweet RS232 goodness, that frankly is what’s required to get your retrocomputer linked over serial port to the modern world. It can be powered via mini USB jack or your own power connection, and the wifi module runs its own web server that serves up a config page via a browser-capable computer, to change settings. Conveniently, the firmware can be updated over-the-air via some AT-commands that you can type in your comms terminal program. What’s not to love?
Build
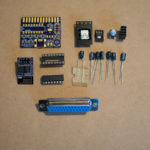
I ordered my WIFI232 in kit form from Paul via his WIFI232 page, and about 1.5 weeks later I got a box in the mail from Delaware in the US, with all the goodies inside. Although Paul notes on his page that there are 2 SMD parts, I thought it should be OK for me to solder, even though I have a low-quality plug-to-the-wall non-temperature-controlled soldering iron. I had a free weekend, so I prepped my work area and got soldering.
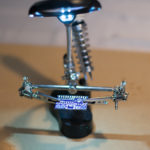
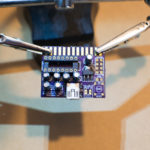
All went well with the soldering, the DB25 port was no hassle to solder at all (I had practiced with another Amiga-related adapter that, once completed, I’ll showcase in another blog post here) and after soldering the SMD components first – which was a little tricky – all the other through-hole components were soldered up with no trouble. I commend Paul in designing the board so that all the polarities of the capacitors all face the same way – clever thinking. I added a socket for the DIP as I like to have all my ICs in sockets, because you never know when you might have to remove one for whatever reason. The wifi module connects to the board via its own pin headers, so that’s already modular enough.
Powering up the board however, exhibited an issue where the LED on the wifi board would not light up at all. I tried to smell around for any blown components or magic smoke, but there was none. I whipped out my multimeter and set it to continuity mode, and I just started probing around for any shorts. And I found the short – in the USB port on the board. The USB port that was an SMD component, soldered on to really tiny pads. There were a couple of solder bridges right inside the port, shorting out the entire port and in turn, the entire board. Probing the secondary vias labelled ‘PWR IN’ would cause continuity beep, meaning that I couldn’t power up this board at all. With the capacitors in close proximity, it was very difficult if not impossible to get the soldering iron in there and reflow the solder.
I made the executive decision to just remove the USB port from the PCB – easier said than done. I figured I’ve gone so far down this path, if I completely futz this board I’ll have to suck it up and buy another one from Paul. I heated up the grounding pins on each corner of the port with my soldering iron, but the joints cooled too quickly for me to even wiggle the port off the board, let alone move it out of its joints. I decided to get the snips out and just snip the port right off, desoldering any pins along the way. This was partly successful – I did get the port off the board, but at the expense of accidentally ripping two grounding pins clean off. Sorry Paul, due to my incompetence I have butchered this board – very sad.
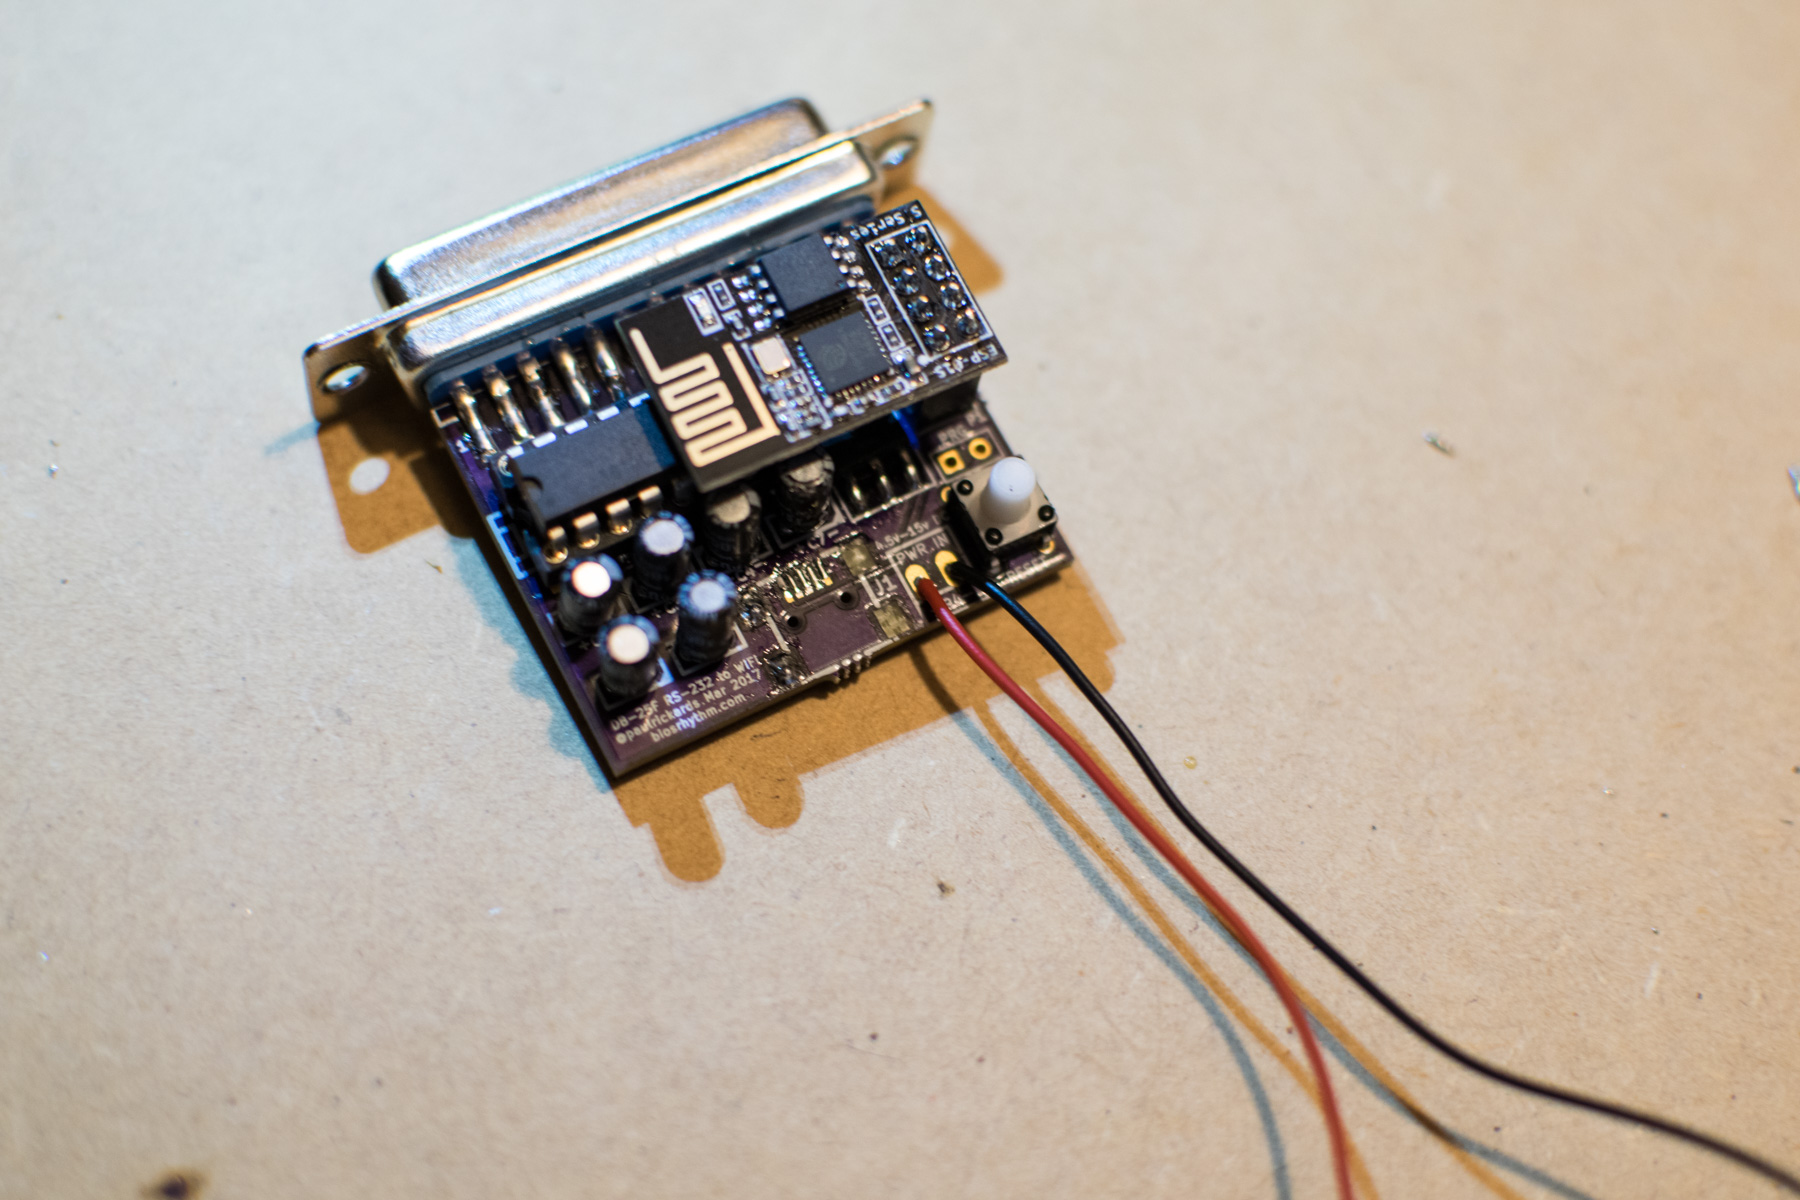 A closer shot of the WIFI232 after I had accidentally ripped two pads to the left of the red wire.
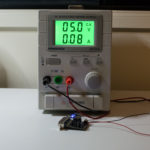
My hunch that the USB port was shorted was correct however – as soon as I desoldered the remaining USB transmit pins from the board (thankfully not ripped off), I tested continuity again and it came back all clear. I soldered two wires to the PWR IN vias on the board, and now had to figure out a way to power this up and test. I decided to use my lab bench power supply – setting this to 5V, I hooked up my black and red wires, and the LED from the wifi module flashed into life! Success! For now I moved my lab bench power supply next to my Amiga A1200 so that my alligator clips can reach behind the A1200, but I think I’ll get a jiffy case from Jaycar, along with a barrel connector, so that I can power this module with 5V input and perhaps hide the gore that I had inflicted on this board.
Connecting and using
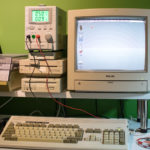
Looking through the hard drive on my Amiga, I realised that I had no terminal software installed. At least I don’t think I did – does Amiga Workbench 3.1 include a rudimentary terminal program? I don’t think it does. Anyway, I rolled over to my iMac and jumped on Aminet to fetch a copy of NComm 3.06 (along with the publicly-released registration key), put it onto a CompactFlash card, connected it to the Amiga’s PCMCIA slot via an adapter, and copied the files across, installing it on my hard drive. Following the instructions in the setup PDF on Paul’s website, I set the baud of my serial port to 1200 and typed in the AT commands required to set up the wifi module to be able to communicate with your home wifi network. I couldn’t find a way to store an SSID to the module that has spaces in it, so I had to rename my wifi network to strip out spaces and get this adapter to see the network. I’ve messaged Paul via Twitter asking if there’s a trick to add an SSID with spaces in it – awaiting a reply.
UPDATE (22nd May 2017): Paul did a quick test by setting up an ad-hoc wifi network on his end and found that the WIFI232 had no issues connecting. I double-checked my settings and found an upper case character in my SSID that should’ve been lower-case, fixing this fixed the problem.
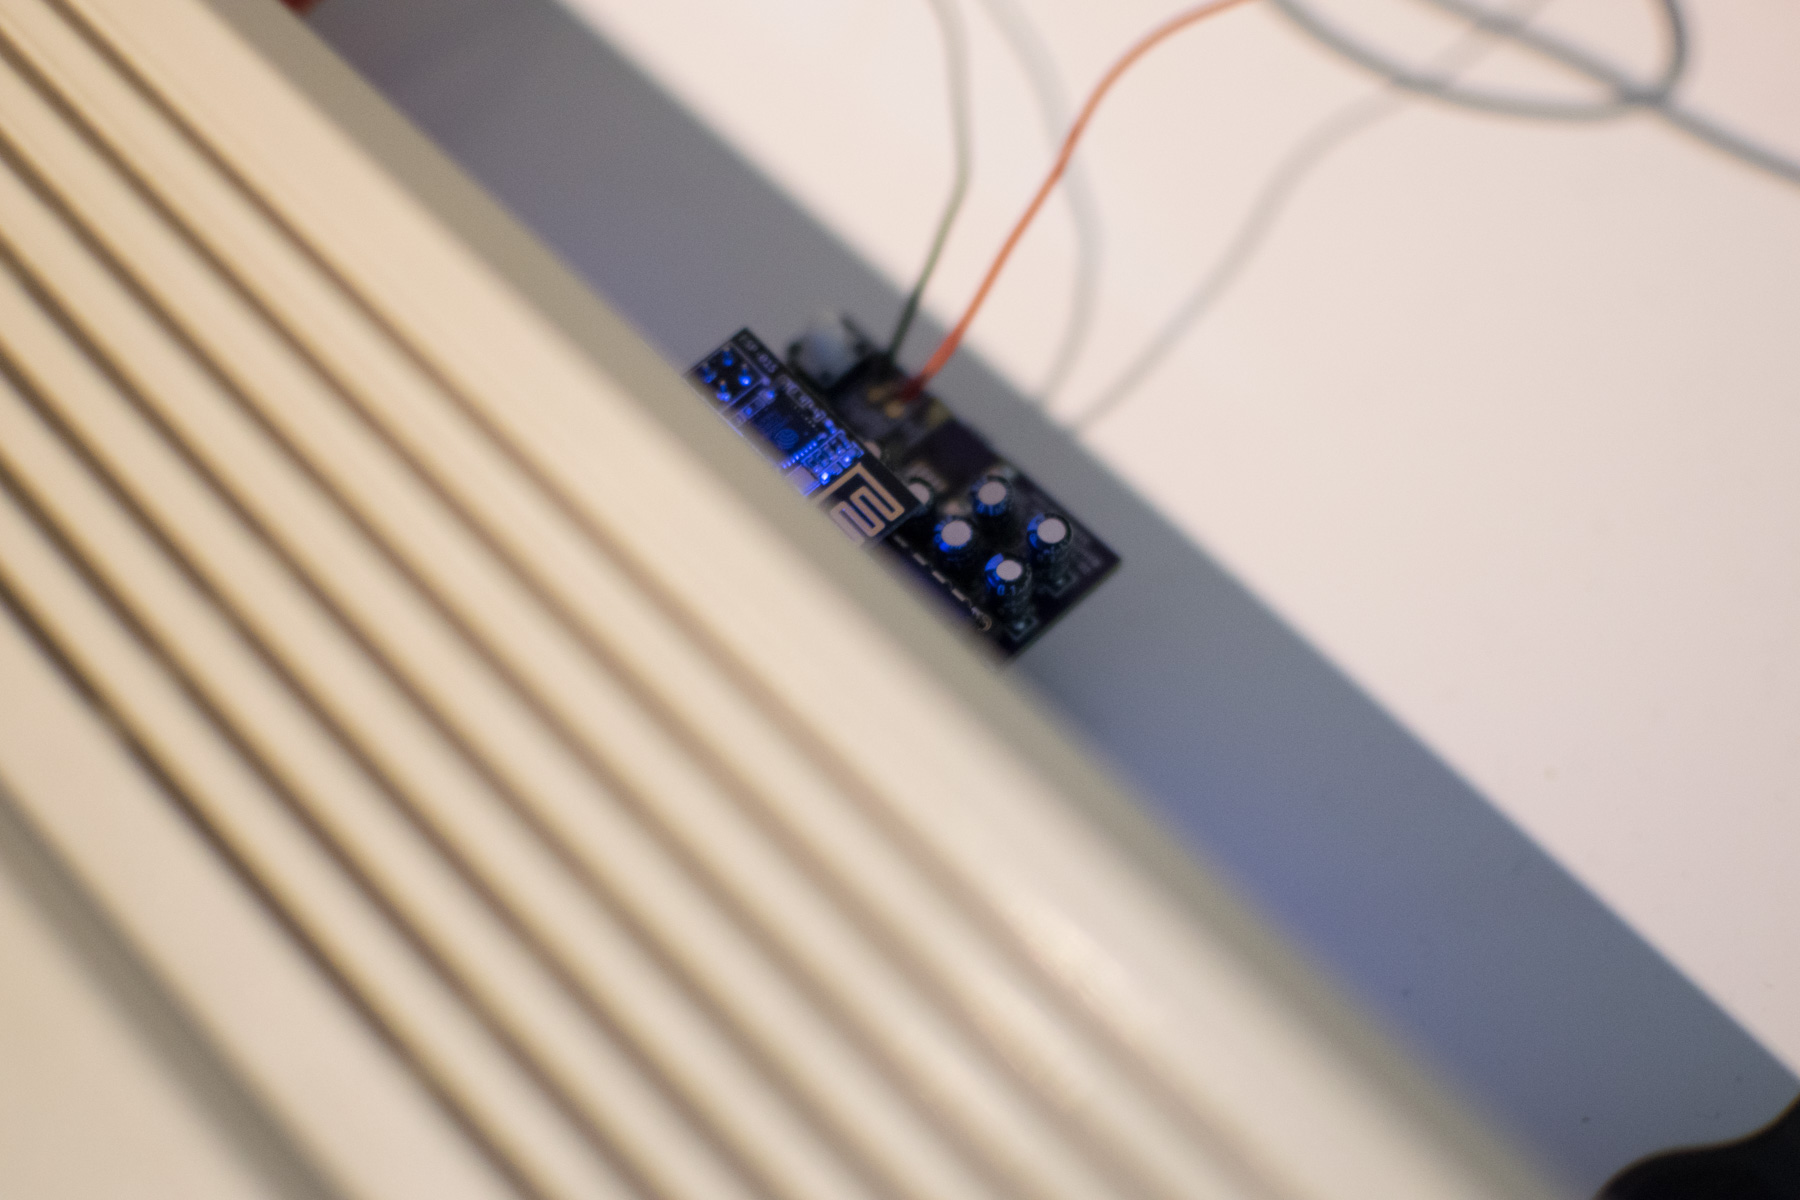 The WIFI232 connected to the serial port in the back of my Amiga A1200.
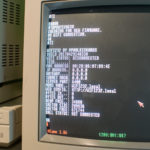
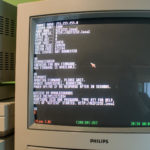
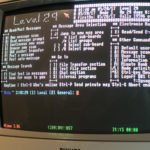
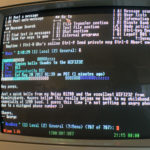
I eventually connected to my wifi network, and got the board to dial up Chris Osborne‘s Level 29 BBS. The baud was still set to 1200 so text transfer was a little slow, but this lack of speed hit me in my oversized nostalgia organ – hard. My typing speed nowadays is miles ahead of whatever hunt-and-pecking I was doing back when I was 10 years old, so touch-typing is actually tricky at 1200 baud (either that, or my A1200 keyboard is too mushy for my liking). I signed up as a new user on Level 29 and left a quick message there, then logged off.
Next time I have some spare time, I’ll try to do the same with my Apple IIe (I have a Super Serial card in there), and the next step after that is to try and get some RS232 goodness on my C64 first, before trying the WIFI232 adapter there too. I don’t really need to use the WIFI232 on my A1200, as there’s a PCMCIA slot on that model that I can use a PCMCIA Ethernet card with – I just need to get the Ethernet card to talk to NComm – so this WIFI232 board will most likely live on my Apple IIe once I set it up.
All in all, I can recommend Paul’s project – just don’t get me to solder it for you! – especially if you are into retrocomputers. Better yet, if you are rocking a retro portable computer, you can use the WIFI232 and connect to BBSes via an ad-hoc wifi network between the WIFI232 and your mobile phone. Pre-pubescent you would’ve been well jealous.
Bartosz says:
Wow this is really amazing! :) I enjoyed reading your article. Can I use the WiFi232 modem only with BBS or is there a possibility to access the internet “as usual” (TCP) – for example to receive/send mails and down- and upload from FTP or HTTP? Have you tried this on an Amiga computer?
May 21, 2017 — 2:05 am
georgeharito says:
I haven’t tried myself Bartosz, but you might be able to treat this as a PPP connection? You might need a Raspberry Pi to negotiate the PPP part. That way it would behave like dialup internet. Might be something to look into.
I’ve never used dialup or a PPP connection on an Amiga before, the era where I was using dialup at home I was well invested in the PC platform by then, and our Amigas were stored away.
May 21, 2017 — 8:00 am
Chain-Q says:
You can probably use PPP via this, but you’re much better off flashing a SLIP firmware to the ESP8266 and using a SLIP connection on the Amiga, plus an Amiga-side TCP/IP stack (there are several). But if you are going down that route, and you have an A1200 (as pictured here) or A600 you can simply use a PCMCIA Ethernet card (there are drivers for NE-2000 compatibles, plus some 16bit 3Com cards) with a cheap external WiFI bridge, which would be much faster and probably less painful than fiddling with SLIP and PPP.
There are also drivers of for older WiFi cards with the PRISM-II chipset (same which was used in the original Apple Airport for iBook G3s), but to use that you need a much faster CPU, and its support for modern WiFi encryption schemes are quite limited, so it’s nice to try it once, but for regular use I can’t recommend it.
If you have a stock, or nearly stock A500 which lacks a trivial way to add networking, you can also try the Plipbox project, which is a parallel Ethernet implementation supported by an Arduino, and has ready-made Amiga side drivers. (And again, a cheap WiFi to ethernet bridge, if you need wireless.)
The big box Amigas (2/3/4000) have Zorro Ethernet cards, even 100Mbit ones, although they’re expensive (you can still buy them new!), but the performance difference is so big, it makes little sense to fiddle with the serial port on these machines. :)
But nice hack, nevertheless, congrats. I also consider getting a WiModem myself because it can be really useful at times. :)
May 21, 2017 — 7:20 pm
Chain-Q says:
Ah, I see you mentioned the A1200 PCMCIA slot in the post several times, sorry. :) Since I know this hack, I just rushed through the text, after looking at the pictures, then saw the question among the comments… :)
May 21, 2017 — 7:24 pm
Sir_Lucas says:
I think NComm works only with RS232 devices. If you want to make your PCMCIA ethernet card connect to BBS you need to use these programs:
1. DcTelnet
http://aminet.net/package/comm/tcp/DCTelnet_16
2. AmTelnet
http://aminet.net/package/comm/tcp/amtelnet
There are also PCMCIA ETHERNET WIFI WPA2/AES cards:
http://eab.abime.net/showthread.php?t=81915
May 21, 2017 — 7:43 pm
georgeharito says:
Not a problem Charlie (Chain-Q), thanks for posting that valuable information :)
May 22, 2017 — 2:23 pm
georgeharito says:
Thanks for those links Sir_Lucas, I’ll check them out!
May 22, 2017 — 2:23 pm
Patrik Axelsson says:
You can use telser.device with NComm to connect to telnet BBSes.
September 1, 2019 — 10:12 pm
Espen Skog says:
Nice. If you just replace serial.device with telser.device in NComm you can actually do “atdt hostname,port” in ncomm and dial telnet-boards. Works like a charm :) This means you need a IP stack on the machine first (e.g. thru amitcp or miami).
January 17, 2021 — 10:44 pm